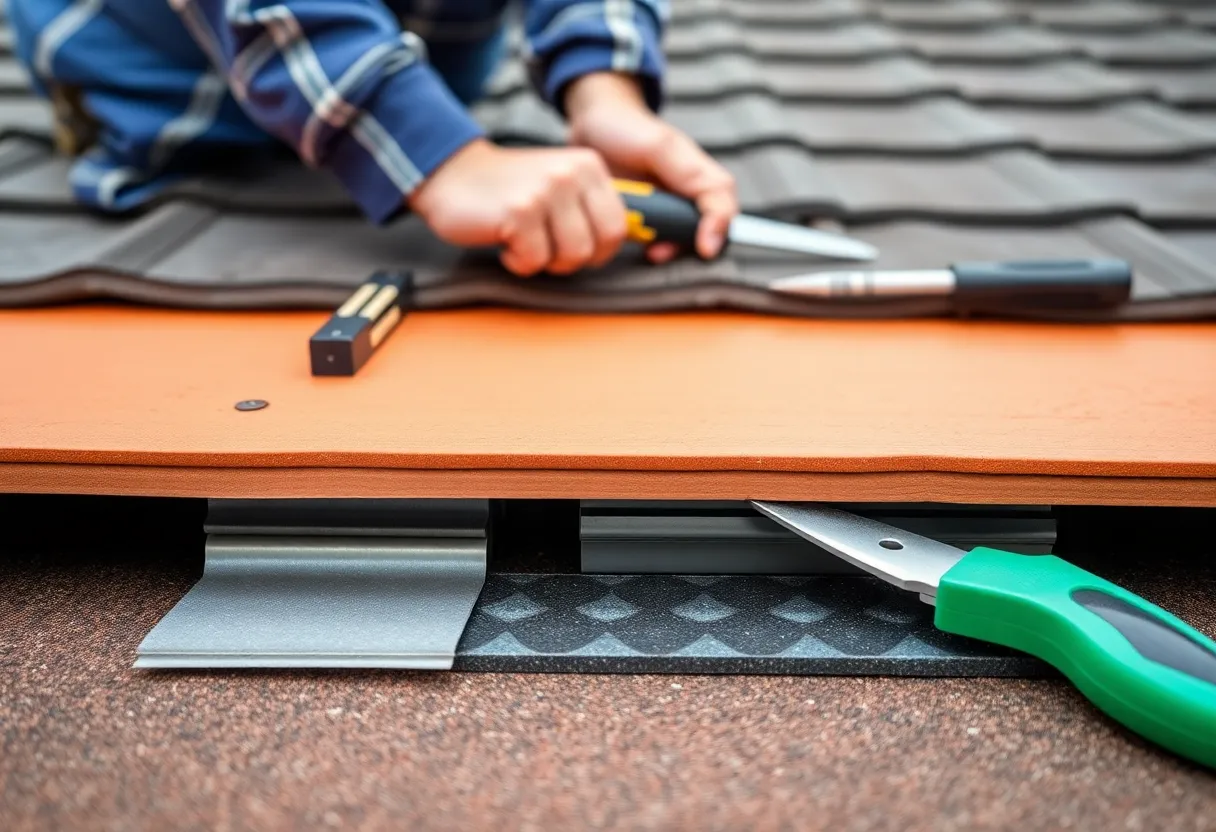
How to Successfully Install Roof Flashing: A Beginner’s Guide for Homeowners
Roof flashing is a critical component of roofing systems, designed to prevent water from penetrating your home. Properly installing roof flashing is essential for ensuring long-lasting protection against leaks and water damage. This beginner’s guide will walk you through the steps of successfully installing roof flashing, ensuring your home remains safe and dry.
Understanding Roof Flashing
What exactly is roof flashing? It is a thin material, typically made of metal or plastic, that directs water away from critical areas of your roof. Vulnerable points such as chimneys, vents, and roof valleys require flashing to keep water from seeping underneath shingles and causing damage.
Types of Roof Flashing
There are various types of roof flashing, each serving specific purposes. Here are the most common types:
- Step Flashing: Used at the junction of a sloped roof and a vertical wall.
- Continuous Flashing: A long piece that offers a barrier along the roof’s edge, typically used with a chimney.
- Valley Flashing: Installed in roof valleys to manage water flow where two roof planes meet.
- Vent Pipe Flashing: Designed specifically to seal around vent pipes that protrude through the roof.
Tools and Materials Needed
Before starting the installation process, gather the necessary tools and materials:
Tools
- Utility Knife
- Caulking Gun
- Measuring Tape
- Hammer
- Nail Gun (optional)
- Chalk Line
- Ladder
- Safety Gear (gloves, goggles)
Materials
- Roof Flashing Material (preferably metal)
- Roofing Adhesive or Sealant
- Nails or Screws
Preparation Steps
Like any construction project, preparation is vital for a successful installation. Follow these steps:
1. Inspect the Roof
Conduct a thorough inspection of your roof to identify the areas where flashing is necessary. Look for any signs of damage, such as cracked shingles or rusted areas, that may need attention before installation.
2. Measure and Cut the Flashing
Measure the required lengths for flashing at each vulnerable area. Use a utility knife to cut the flashing material to the correct length. Always ensure that the cut is straight for optimal fitting.
3. Prepare the Surface
Clean the installation area thoroughly. Remove any debris, old sealant, or other materials that may hinder proper adhesion.
Installation Process
Once preparations are complete, it’s time to install the flashing. Follow these detailed steps:
1. Install Step Flashing
If using step flashing, begin by placing the first piece at the bottom edge where the roof meets the wall. Nail it into place, ensuring it overlaps the lower shingles. Continue installing the remaining pieces, overlapping each new piece over the previous one to direct water away from the wall.
2. Place Continuous Flashing
For continuous flashing, position it along the chimney or vertical wall. Ensure the flashing extends at least 6 inches past the chimney on both sides. Secure it with nails and apply roofing adhesive to help ensure it’s watertight.
3. Install Valley Flashing
When installing valley flashing, ensure that it aligns with the valleys of two intersecting roof planes. Secure the flashing with nails and ensure it is installed beneath the shingles for maximum water protection.
4. Seal Around Vent Pipes
For vent pipe flashing, slide it around the vent pipe and secure it with nails. Make sure the top edge of the flashing is under the shingles to block any water intrusion. Apply sealant around the base to create an airtight seal.
5. Apply Sealant
After all pieces are in place, it is crucial to apply roofing sealant to the edges and seams of the flashing. This will help prevent any potential leaks by ensuring a watertight seal.
Finishing Touches
After installation, take the time to inspect everything carefully. Verify that:
- All pieces of flashing are securely in place.
- The sealant has been applied generously around edges and seams.
- There are no gaps or defects that could allow water to enter.
Clean Up
Dispose of any scraps or debris from your work area. A clean workspace not only looks better but also helps prevent accidents.
Maintenance and Inspection
Regular maintenance and inspection of your roof flashing are essential to prolong its lifespan. Check for:
- Signs of rust or corrosion, particularly in metal flashing.
- Loose or missing nails that could lead to leaks.
- Cracks in the sealant that may need reapplication.
Tips for Successful Installation
- Always wear safety gear when working on your roof.
- Choose high-quality flashing materials to increase longevity.
- Consult a professional if you feel uncertain about any step of the installation process.
Conclusion
Successfully installing roof flashing is a skill that can help homeowners protect their homes from water damage. By following the steps outlined in this guide, you can ensure a proper installation. While it may seem daunting for a beginner, proper preparation, execution, and maintenance will lead to long-lasting results. Always remember that investing time in proper installation today will save considerable effort and expense in preventing water damage in the future.


 Mays Contracting


