
How to Elevate Your Roof with Stylish Architectural Features: A DIY Guide
Transforming your roof into a stunning architectural feature can significantly enhance the overall aesthetic of your home. Not only does it elevate curb appeal, but it also adds value to your property. This guide provides practical steps to incorporate stylish elements into your roof design, focusing on techniques you can accomplish yourself.
Understanding the Basics: Roof Architecture
Before you embark on your DIY project, it’s essential to grasp the fundamentals of roof architecture. Your roof is more than a mere protective shield; it plays a vital role in the overall design and functionality of your home.
The Purpose of Architectural Features
Architectural features serve several purposes:
- Enhance visual interest
- Define style and character
- Provide additional functionality such as ventilation or drainage
Common Roof Styles
Familiarizing yourself with various roof styles can inspire your design choices. Here are a few common types:
- Gable Roof: Characterized by triangular peaks, allowing for effective water drainage.
- Hip Roof: Slopes on all sides, providing stability and a dynamic appearance.
- Mansard Roof: Features a flat upper section, enabling additional living space.
- Flat Roof: Minimal slope, often used for modern aesthetics.
Stylish Architectural Features to Consider
Now that you understand the basics, let’s explore specific features you can add to elevate your roof’s design.
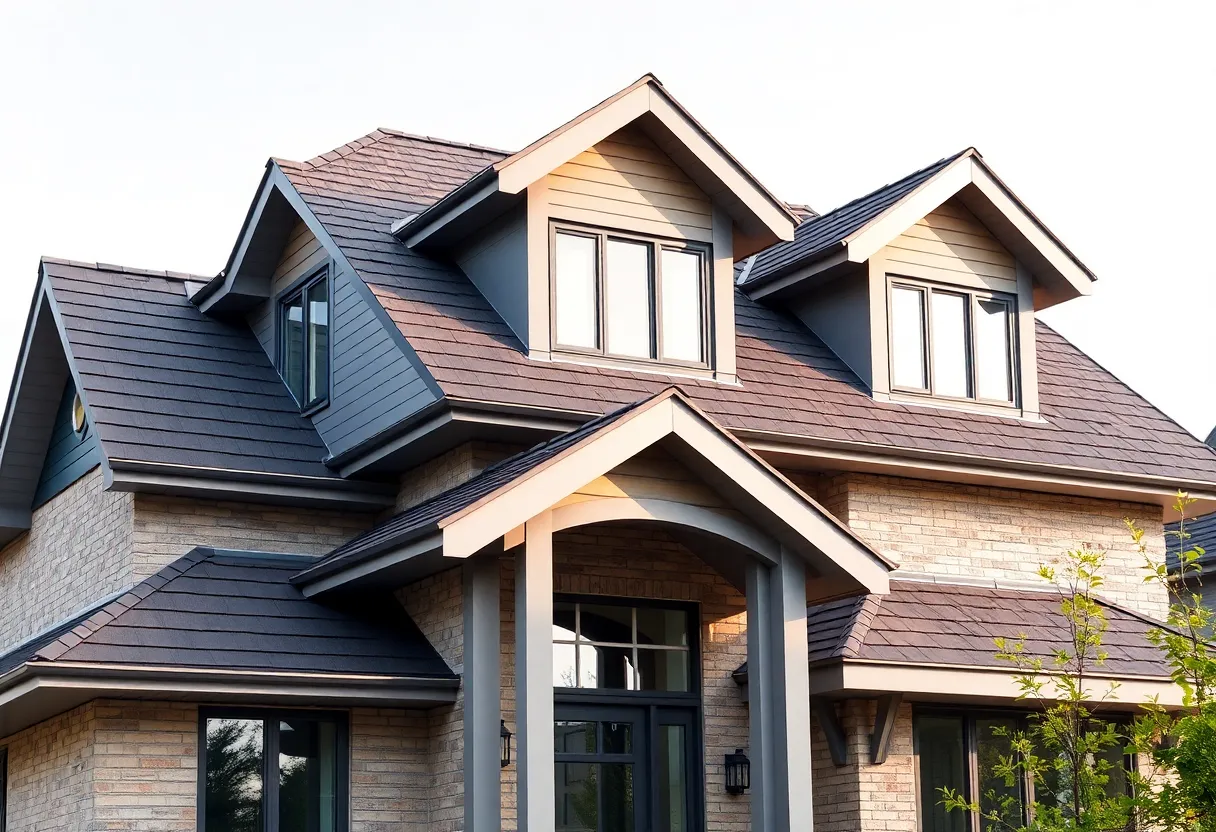
1. Dormers
Dormers are structures that protrude from the sloped roof, providing additional light and space to upper floors.
Installation:
- Choose the right style (shed, gable, or eyebrow).
- Frame the dormer with correct dimensions to ensure structural integrity.
- Install proper roofing material to maintain continuity.
2. Gables and Trim
Incorporating gables adds instant character. Decorative trim along the edges enhances visual appeal.
Implementation tips:
- Select a contrasting color for trim to highlight the architecture.
- Consider adding decorative elements like brackets for added flair.
3. Roof Lanterns
Roof lanterns are skylight structures that can increase natural light and add uniqueness.
Steps for installation:
- Determine the size and placement on the roof.
- Ensure proper sealing to prevent leaks.
- Choose glass that maximizes light while minimizing UV exposure.
4. Cupolas
Cupolas are small, dome-like structures that often sit atop a roof, adding height and visual interest.
When adding a cupola:
- Consider scale—ensure it complements your roof size.
- Incorporate ventilation to promote airflow in the attic.
5. Decorative Roof Tiles
Utilize unique roofing materials such as slate or colored tiles to set your home apart.
Important considerations:
- Assess the weight of materials to ensure structural stability.
- Check for any specific local building codes regarding roofing material.
Planning Your DIY Project
Planning is crucial for a successful DIY roofing project. Follow these steps to ensure an organized and effective process.
1. Research and Design
Begin with research. Create sketches or use design software to visualize changes. Consider the interplay of color, texture, and style with the existing architecture.
2. Gather Necessary Materials
Compile a list of materials and tools required for your project. Basic materials may include:
- Wood for framing
- Roofing tiles or shingles
- Sealants and adhesives
- Safety gear (harness, helmet, gloves)
3. Obtain Permits
Verify any permit requirements with your local building authority. This step is critical, as building codes vary by location.
4. Safety First
Your safety is paramount. Always use safety gear when working on the roof. Employ proper ladder techniques and consider engaging a helper for stability.
Implementing Your Design
Once you complete the planning phase, it’s time to execute your design. Follow these guidelines to achieve a polished result.
1. Prepare the Roof
Before making any changes, thoroughly inspect your roof. Ensure that it’s structurally sound and clear of debris. Address any existing leaks or damage.
2. Install Architectural Features
Follow your designs closely as you install each architectural feature. Ensure that gables, dormers, or other structures fit seamlessly into the overall roofline.
3. Maintain Roofing Material Consistency
For a cohesive appearance, select roofing materials that complement existing aspects. This will ensure your enhancements seem intentional and well thought-out.
Final Touches and Maintenance
After completing your architectural enhancements, consider these final touches:
1. Clean and Inspect
Once the installation is complete, ensure everything is clean. Remove any leftover materials and tools to avoid hazards.
2. Regular Maintenance
Maintain the architectural features with regular inspections to prevent deterioration.
- Check for leaks around dormers and skylights.
- Inspect and repaint any exposed wooden elements.
Conclusion
Elevating your roof with stylish architectural features can dramatically enhance your home’s appeal and value. By understanding the fundamentals of roof architecture, selecting eye-catching features, and approaching DIY projects with careful planning, you can contribute lasting beauty to your property.
With dedication and a keen eye for design, your roof can become a standout element of your home—one that reflects your personal style while maintaining functionality. Ready to transform your roof? Let creative ideas soar and embrace the challenges of your upcoming project.